The first step to being able to use Github with VSCode is to set-up Git on your computer and enable in it VSCode. This post will show you easy steps to set-up Git and Github in VisualStudio Code.
- Understand what are Git, Github and VSCode
- Install Git on Your Computer
- Enable Git in VS Code
- Create Your Github Account
- Configure Your Login
If you haven’t already install and set-up VSCode.
Understand the Basics
Visual Studio Code (VSCode) is a code editor to develop, run and debug code.
Git is the tool that lets you create a local repository (on your PC) and manage versions of your files.
Github is an online service that will host your Git repositories (in the cloud).
Easy Install Git in Visual Studio Code
- Step 1: Download and install visual studio code from the visualstudio.com.
- Step 2: Install Git on Your Computer
- Step 3: Enable Git in VS Code
- Step 4: Create Your Github Account and Sign-in
- Step 5: Configure Your Login in Git
- Step 6: Verify that Git is Linked to your Github
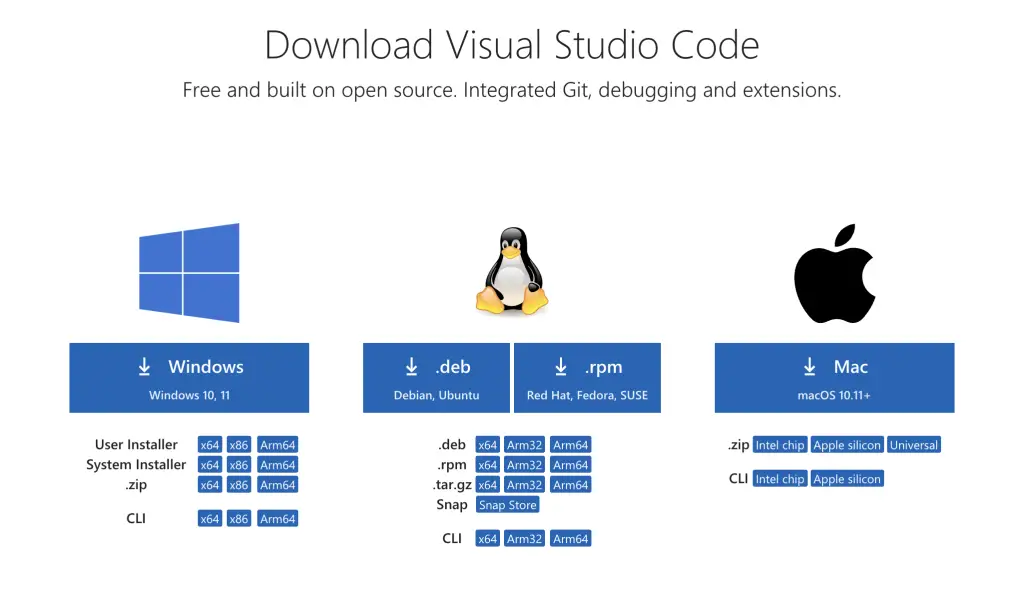
1. Download and install Visual Studio Code
Go visualstudio.com, click on download and choose the right version for your operating system.
2. Install Git on Your Computer
In the official documentation on Visualstudio, it says that you need to install Git before you can access from VSCode.
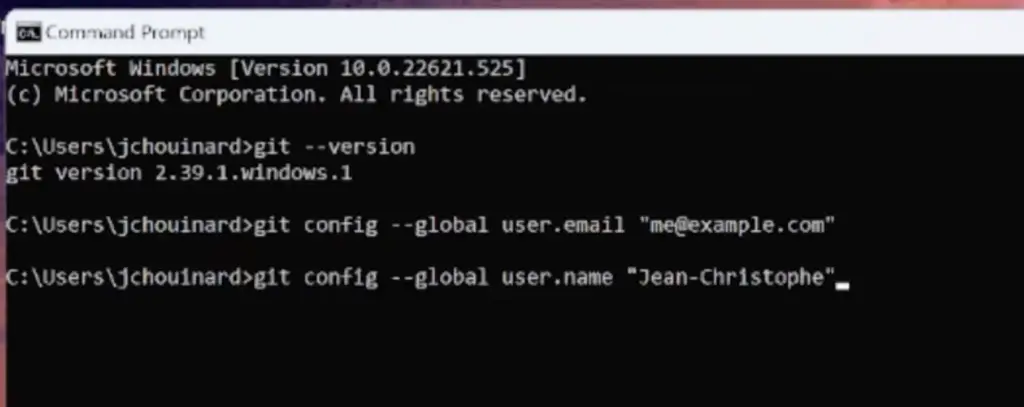
To see if Git is already installed, you can go in the command line (on Windows) , or in the terminal (on Mac) and type this command.
$ git --version
git version 2.20.1.windows.1
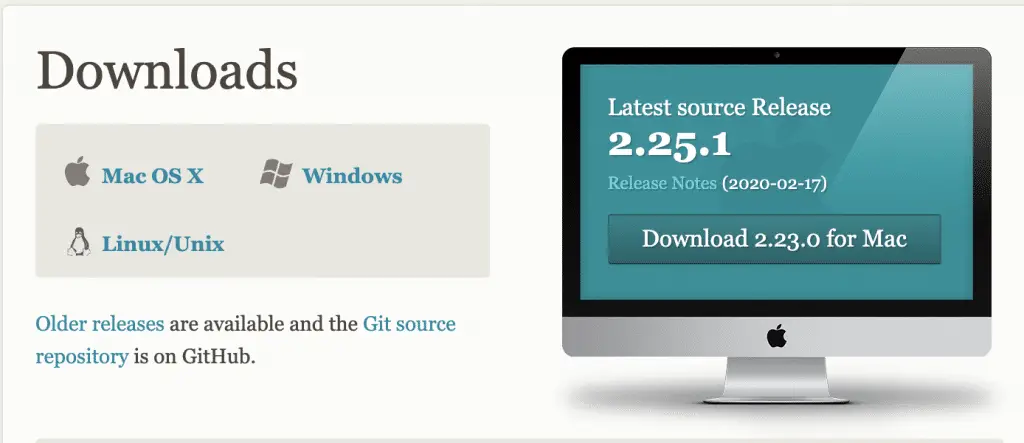
If it is not installed however, just go to Git-SCM and download the executable file for your machine.
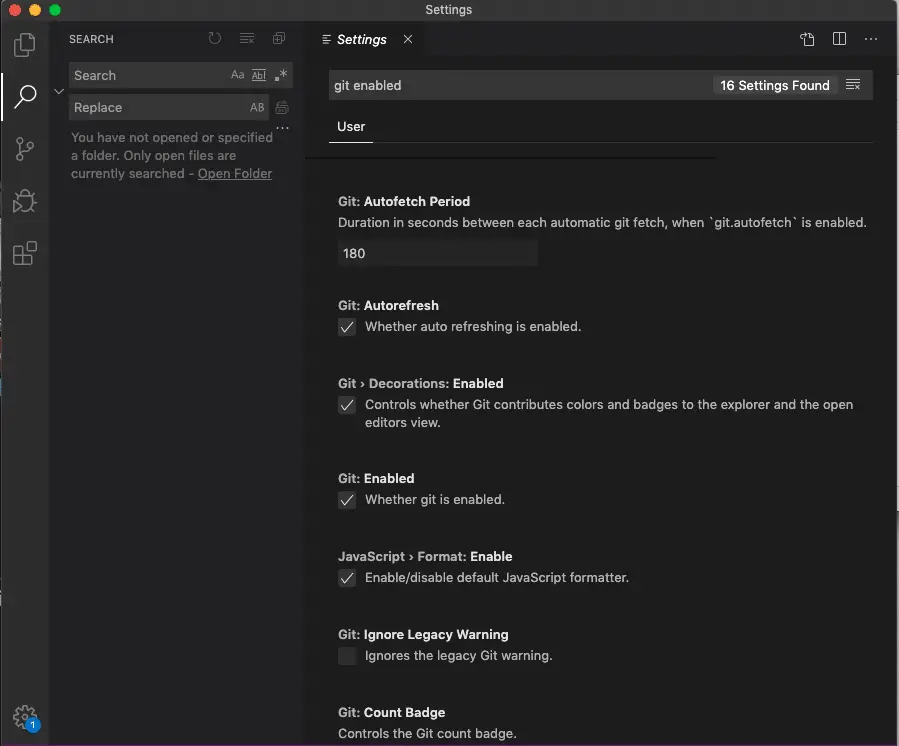
3. Enable Git in VS Code
To enable Git in VS Code on Mac and Windows:
- Go to
File>Preferences - Go to
Settings - Type
Git: Enabledin the search bar - Make sure that the box is ticked
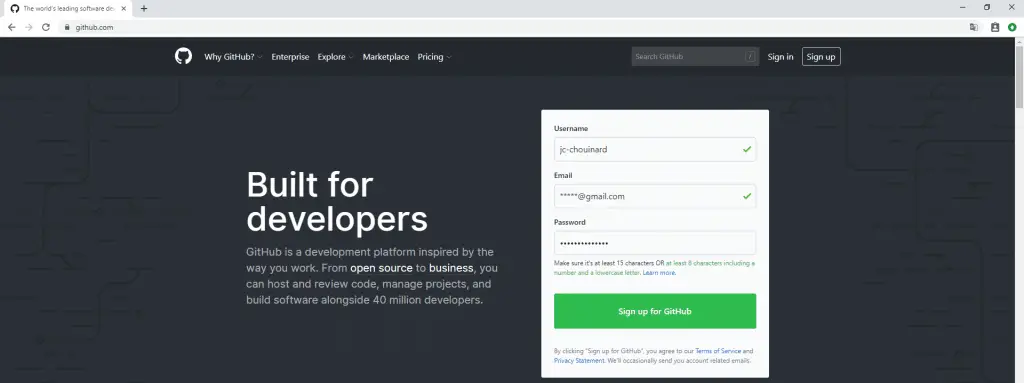
4. Create or Sign-In Your Github Account
To create an account on Github, go to github.com and follow the steps to create an account.
5. Configure Your Login in Git
To configure your Git Login, we will need to set your username and email address in Git.
To set-up your commit email address in Git, to do so, open the terminal and use the git config command.
Set username in Git.
git config --global user.name "yourusername"Set an email address in Git.
git config --global user.email "email@youremail.com"Add the email address to your GitHub account.
If you use two factors authentication (2FA) in your organisation, you will need to generate an access token. You can also read the official documentation to help you.
6. Verify that Git is Linked to your Github
When your details are configured in Git, you can use the following command in the Terminal to view the email and username that was set up:
$ git config --global --listuser.name=yourusername
user.email=email@youremail.comHow to Connect to Github From VS Code when 2FA is Enabled
When 2-Factor authentication is enabled, you need to follow extra steps to be able to connect to a repository from your remote. First, you need to set-up a personal access token (PAT) in Github developer settings and then configure your PAT in VS Code. The following steps explains how to connect VS Code to Github when 2FA is enabled.
Become a Git Master
Although very powerful, Git is very complex. I highly recommend that you follow Datacamp’s Git course to really become comfortable with Git commands and avoid painful mistakes.
Next steps?
- Create your first project with VSCode and Github
- Clone a Github Repository on Windows
- Add a file to Github using Gitbash
Other Version Control with Git and Github Posts
Learn Git and Github (Complete Guide)
Conclusion
That’s it VSCode is configured with Git.

SEO Strategist at Tripadvisor, ex- Seek (Melbourne, Australia). Specialized in technical SEO. Writer in Python, Information Retrieval, SEO and machine learning. Guest author at SearchEngineJournal, SearchEngineLand and OnCrawl.