In this tutorial, you will learn how to install the wget command on Mac OS, with a video example.
How to Install Wget on MacOS
To install on Mac OS, first check if it is already installed. If not, install Homebrew and the use the brew install wget command in the Terminal.
Install Wget on Mac OS:
- Check if Wget is Installed
Open Terminal and type
wget -V - Install Homebrew
In Terminal type the following command:
ruby -e "$(curl -fsSL https://raw.githubusercontent.com/Homebrew/install/master/install)" - Install Wget
In Terminal Type the following command:
brew install wget
Download and Install Wget on Mac
1. Check if the Wget Command is installed on Mac
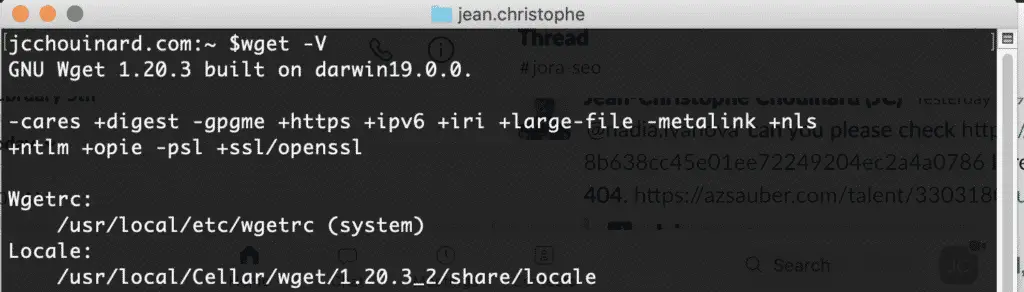
To check if the wget command is installed on MacOS, open the Terminal and type:
$ wget -V
If it is installed, it will return the version.
If not, follow the next steps to download wget on Mac.
2. Install Wget with Homebrew
The recommended method to install wget on Mac is to use Homebrew.
Use the following command in Terminal to install Homebrew.
$ ruby -e "$(curl -fsSL https://raw.githubusercontent.com/Homebrew/install/master/install)"Once Homebrew is installed, use the following command to install wget.
$ brew install wget
SEO Strategist at Tripadvisor, ex- Seek (Melbourne, Australia). Specialized in technical SEO. Writer in Python, Information Retrieval, SEO and machine learning. Guest author at SearchEngineJournal, SearchEngineLand and OnCrawl.