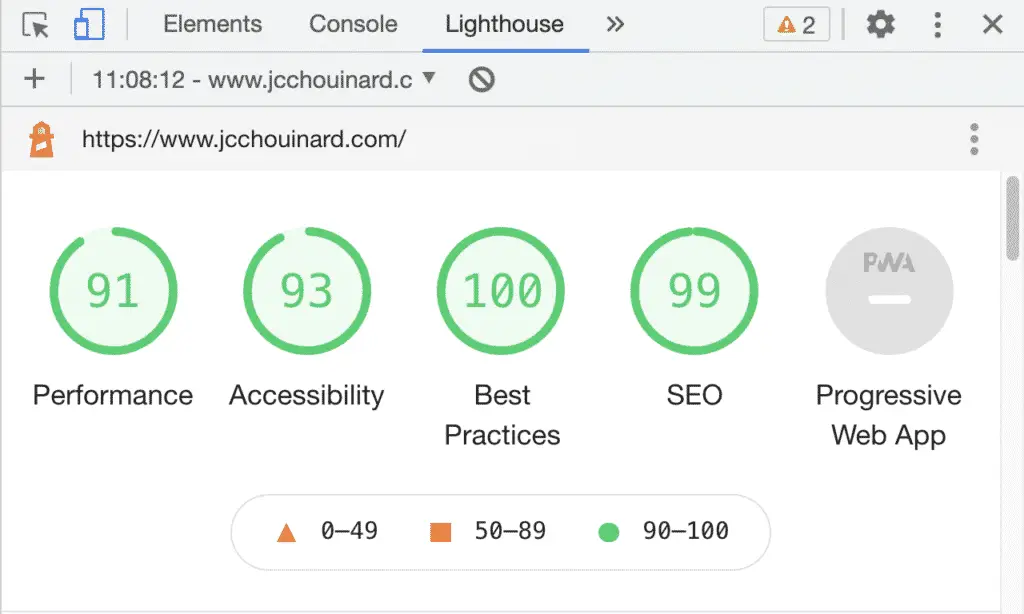
With Core Web Vitals coming up as a ranking factor in Google, I have decided to tackle the lighthouse performance. What finally worked is to use a Cloudflare worker to improve pagespeed on my WordPress site.
In this post, I will show you how to set up your own Cloudflare worker to improve the Pagespeed of your WordPress site.
It was free to set up and took around 0.5-1 hour to implement.
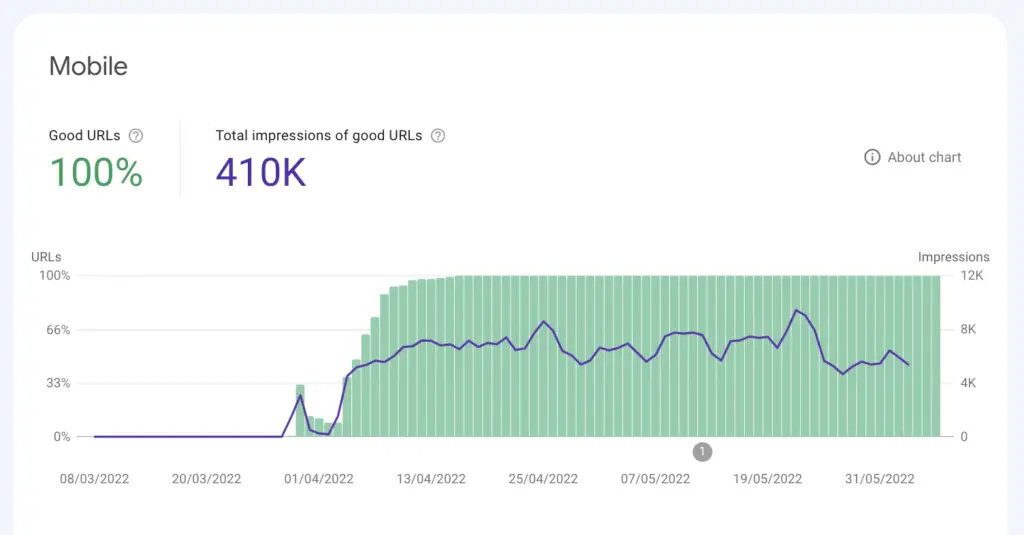
The most striking metric that changed with the Worker is not the lab data, but the field data.
Lab data improved a little, however turning the worker on and off, I saw that the web worker was the only way to get 100% Good URLS in Google Search Console‘s Mobile Page Experience report.
Navigation
Show
BEWARE of Rate Limits
The free tier allows 100K requests in a day.
Passed that limit, Cloudflare will apply a rate limit and block access to your site.
For 5$ per month, you can add an additional 10M requests.
Alternatively, you can fail-open the worker.
Getting Started
Before building this worker, I’d recommend that you do a few basic optimisations first:
- Image fully optimised
- Caching plugin installed on WordPress
- Cloudflare caching setted up
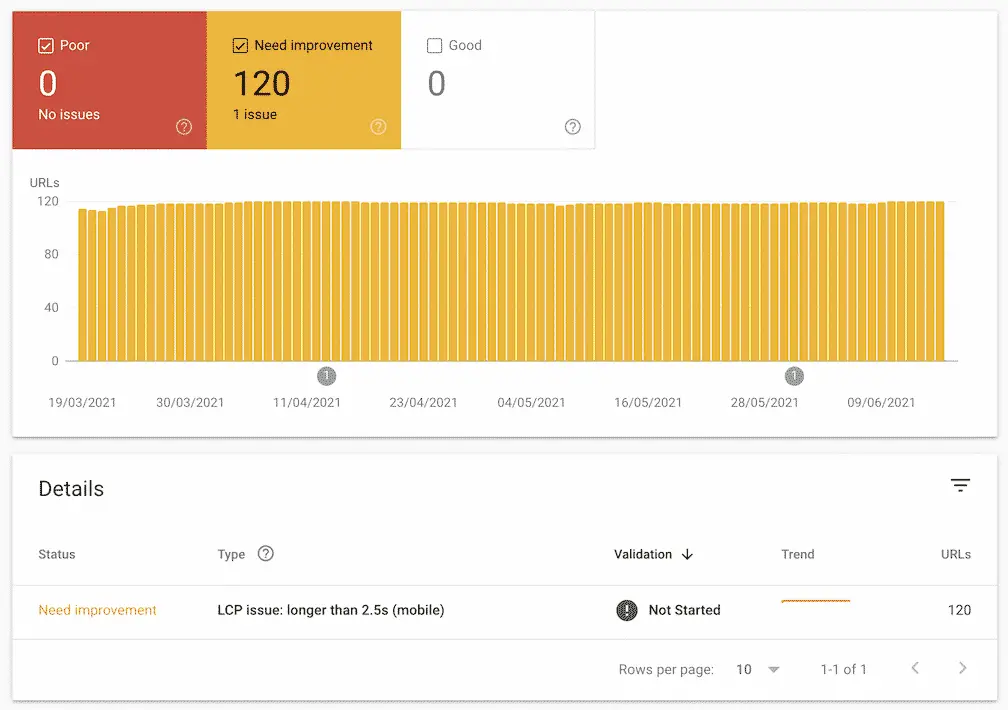
After having done all this, I still had Largest Contentful Paint (LCP) issues raised in Google Search Console.
Getting Your Cloudflare Worker Setted Up
This set-up is based on Cloudflare’s Edge Cache HTML.
Create your free Cloudflare CDN account
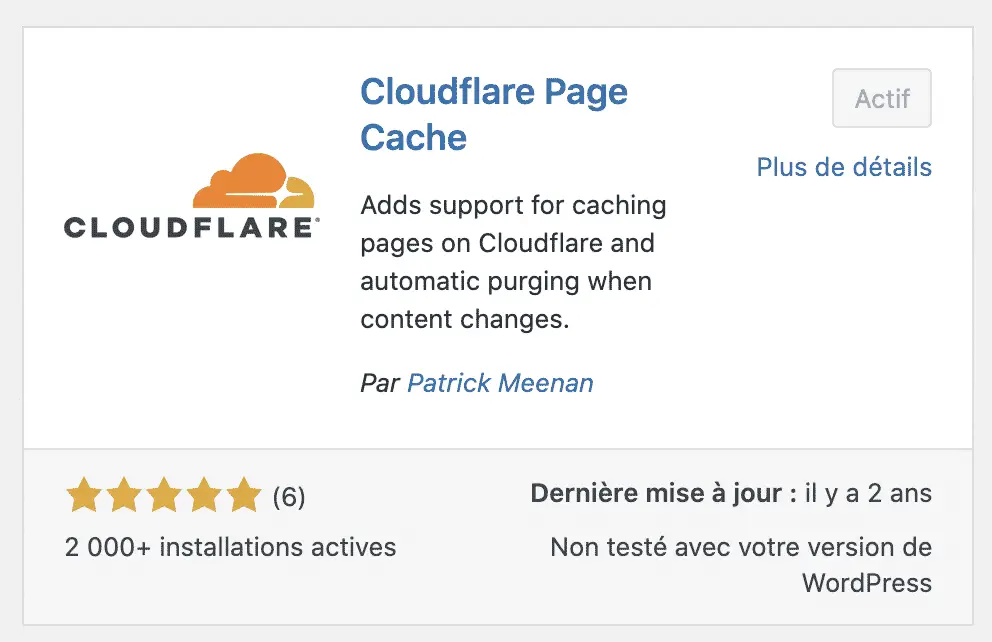
Install Cloudflare Page Cache WordPress plugin
Get Your Cloudflare Credentials
For this project, you will need:
- the API Zone ID,
- the email of your account,
- the Global API key.
We will use these credentials later, so store them somewhere safe.
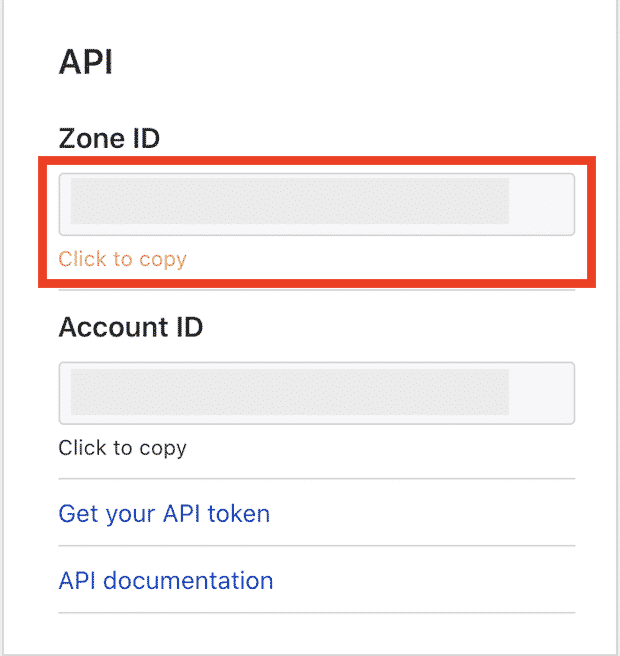
Get the Zone ID
Go back to your site’s Overview Panel.

Scroll down to the API section on the page.
Copy the Zone ID somewhere safe.
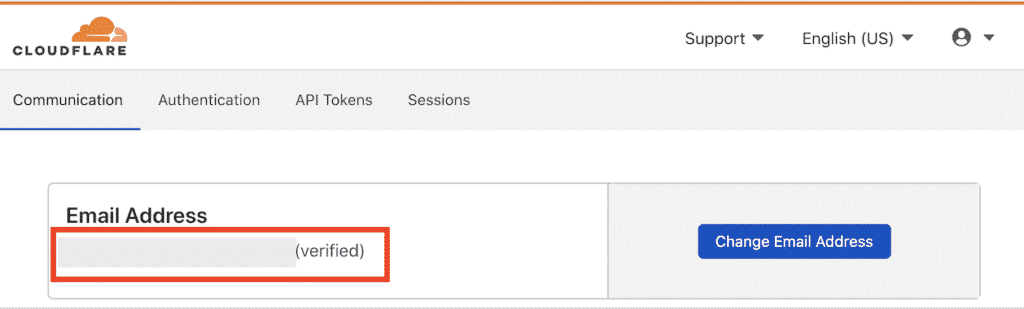
Get Your Email
Go to your Cloudflare profile.
Copy your email.
Get your Global API Key
In your profile, go to the API Tokens’ tab.
Copy your Global API Key, somewhere safe.

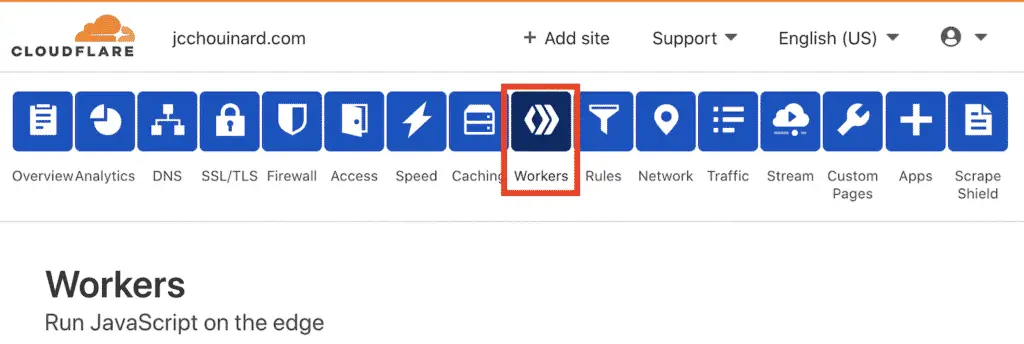
Set-up Your Worker
Go to your site settings on Cloudflare.
Go to the Workers tab.
Create a KV namespace
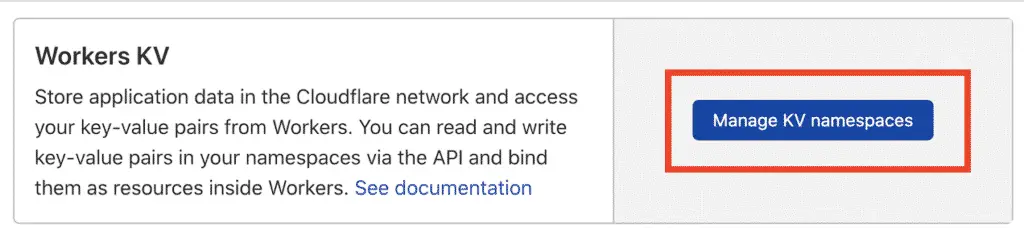
Name your KV worker. The name does not matter.
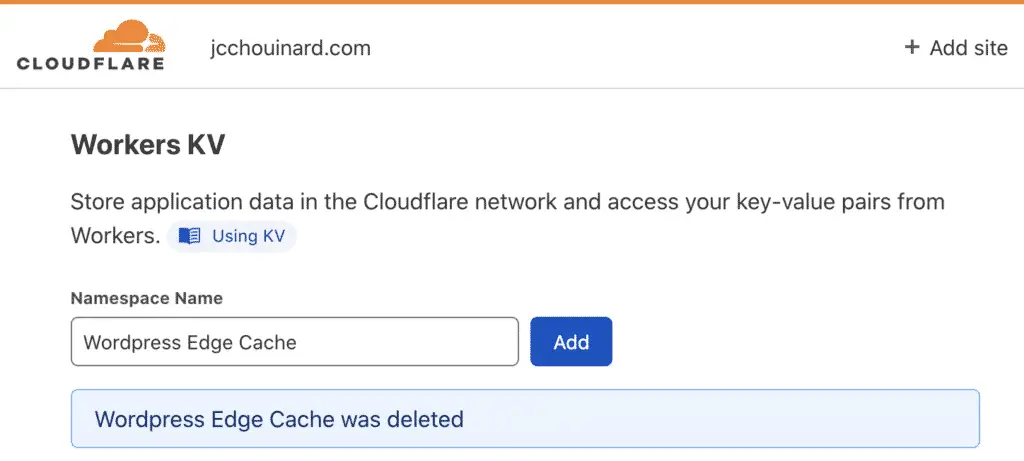
Click on Add to add your namespace.
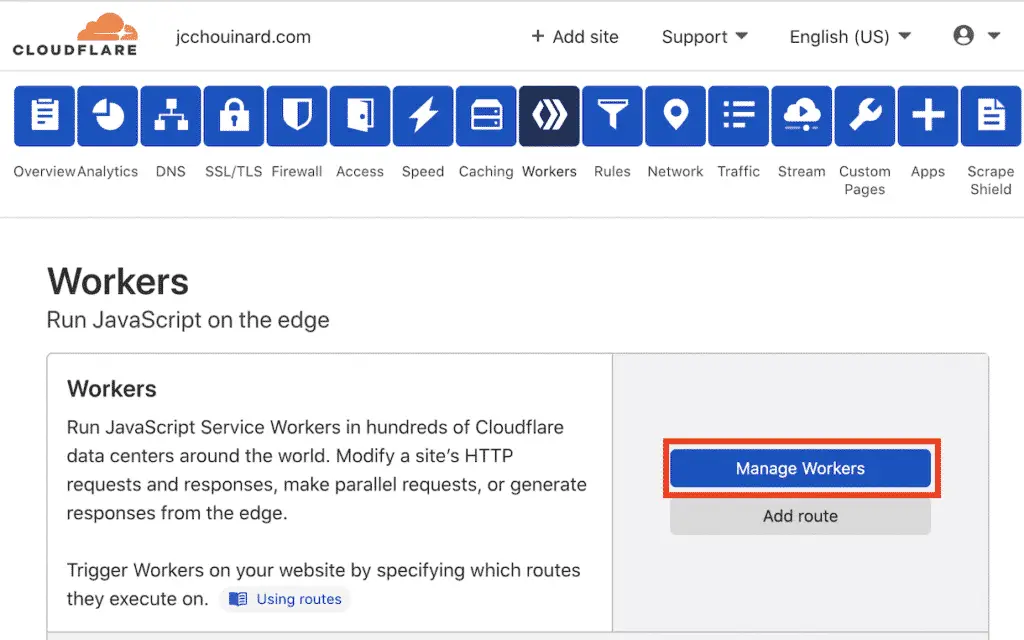
Manage Your Worker
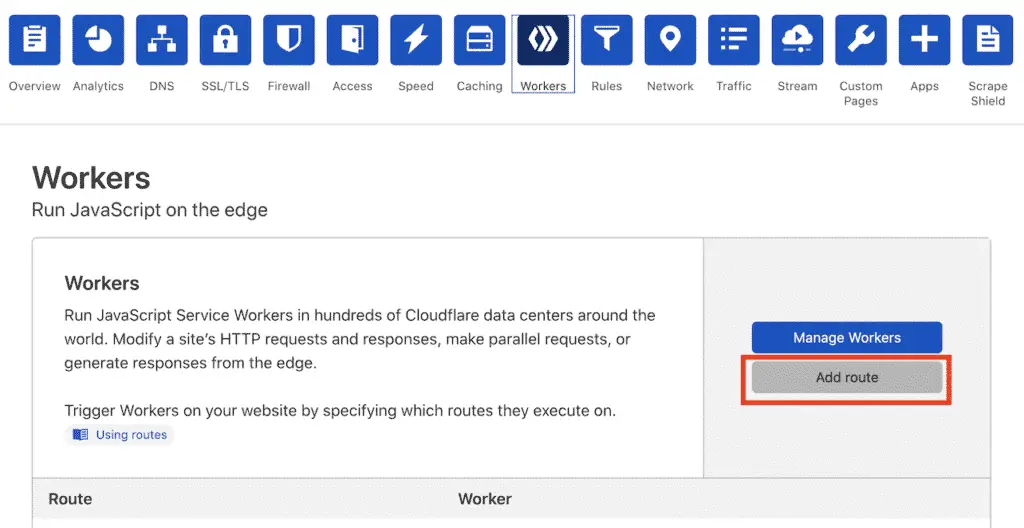
Go back to the Workers tab and click on Manage Workers.
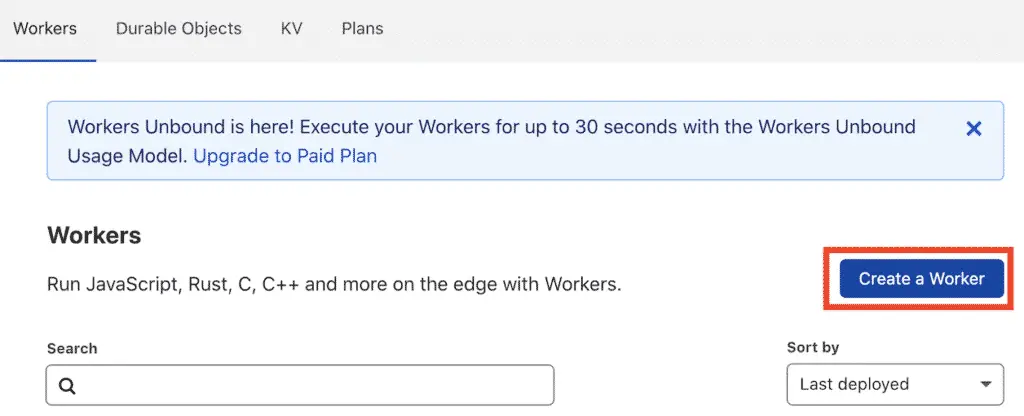
Create the Worker
In the Workers page, click on create a worker.
Add the JavaScript Code to Your Worker
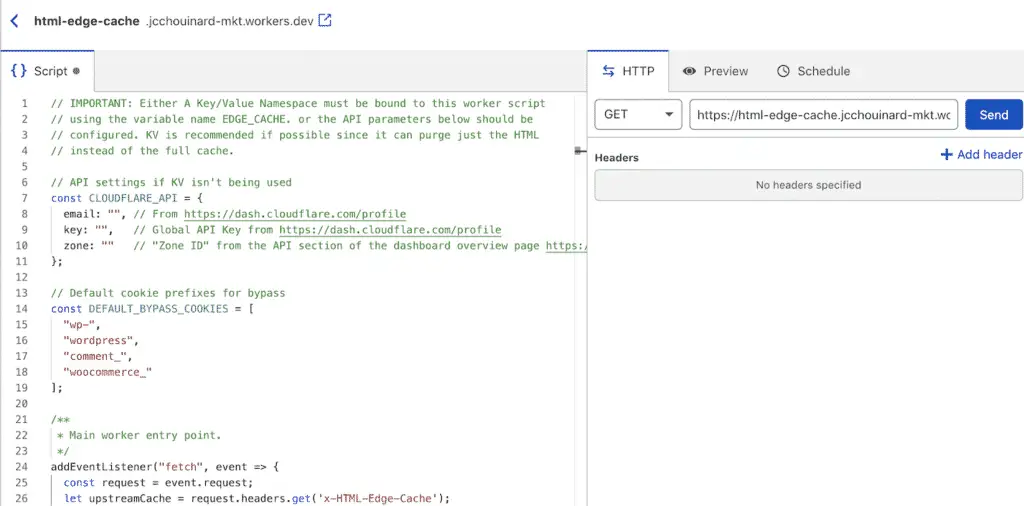
On the page that opens, name your worker and remove the code in the Script section.
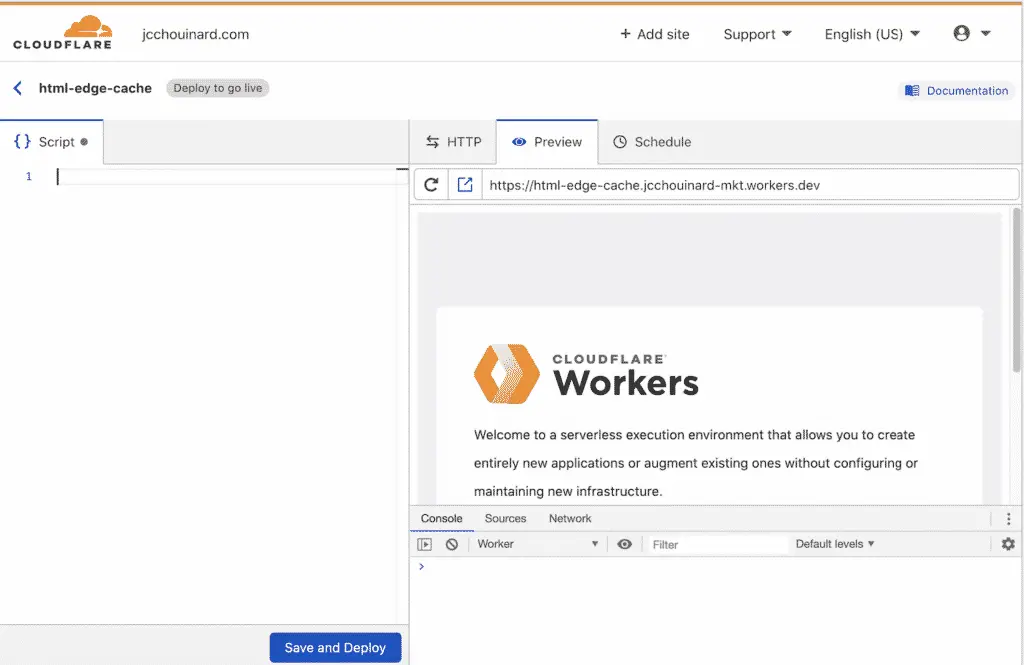
Copy the worker’s code from Github in the Script section:
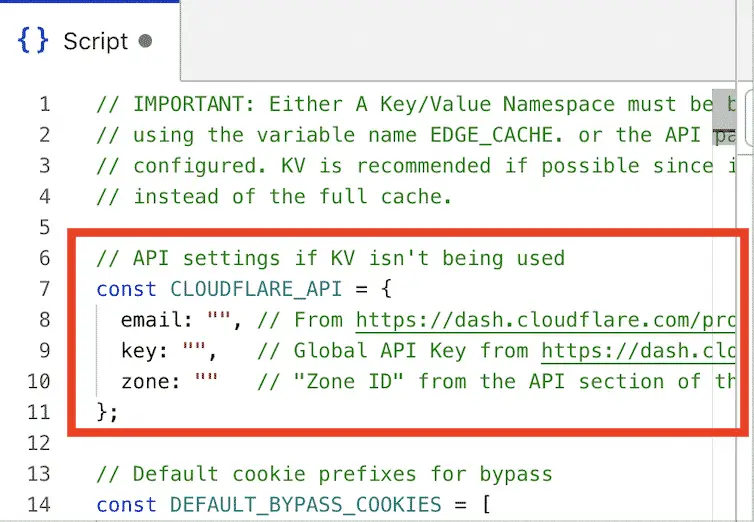
Add Your Credentials to the Cloudflare Worker’s JS Code
Now it is time to add your credentials copied earlier to the code.
Add the Route
Add the route to where you want your worker to run on.
Here I use the * wildcard to tell the Cloudflare worker to run on all pages on my site.
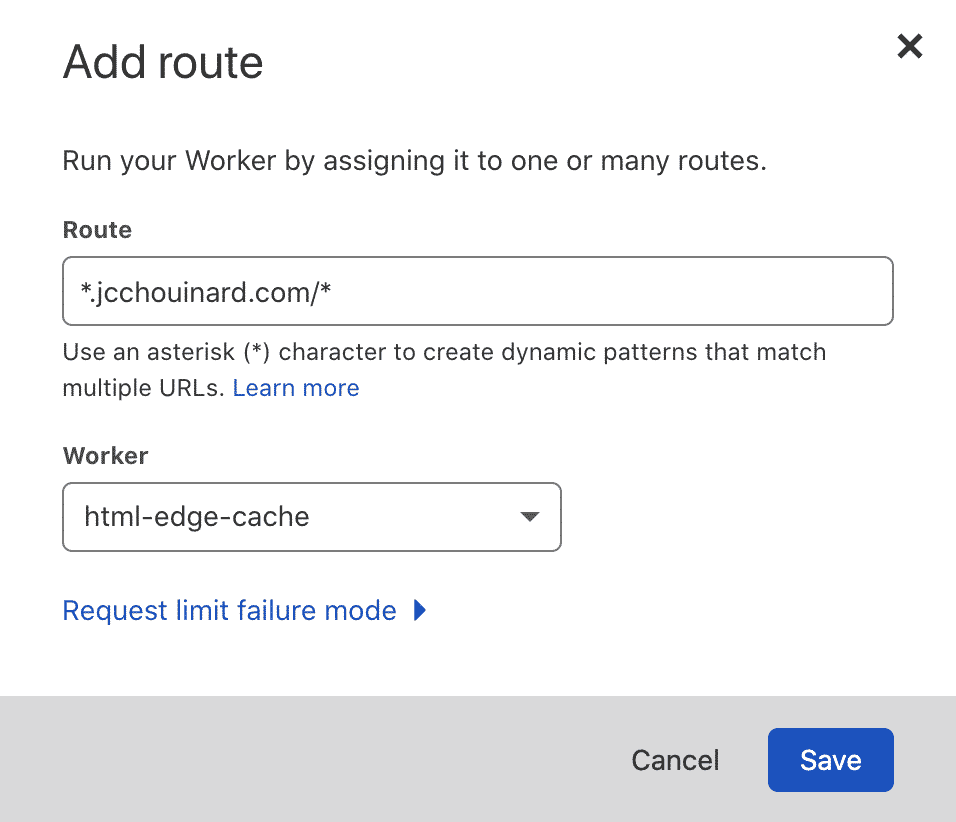
Click on Save.
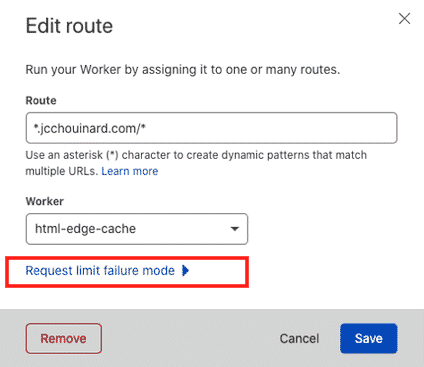
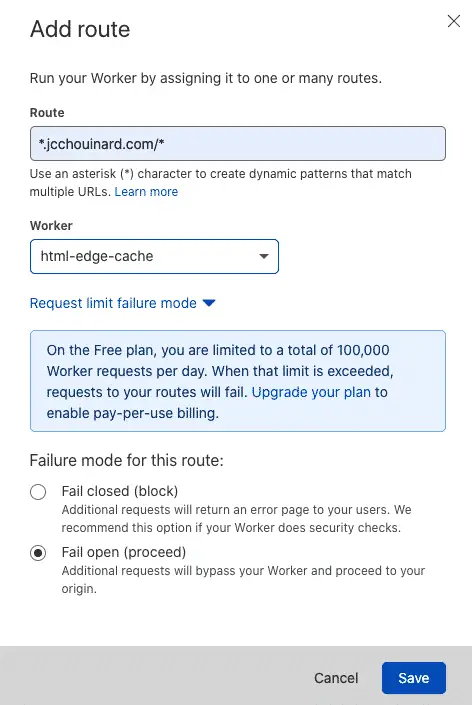
Bypass Rate-Limits with Fail-Open
As we have seen before, without this step, Cloudflare will apply a rate limit to your site when the worker has reached 100K requests.
When that happens, you can add a fallback to bypass the worker by editing the Request limit failure mode to be set to Fail open (proceed).
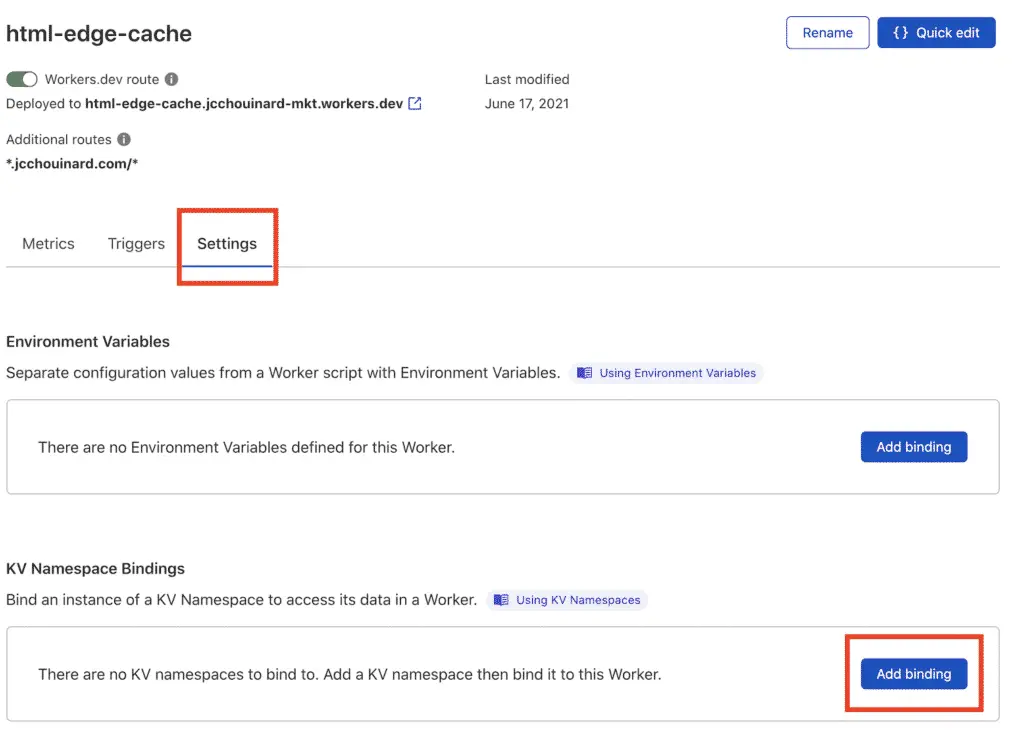
Add Binding
Go back to the worker’s management page.
Select the worker that you have created.
Go to the settings.
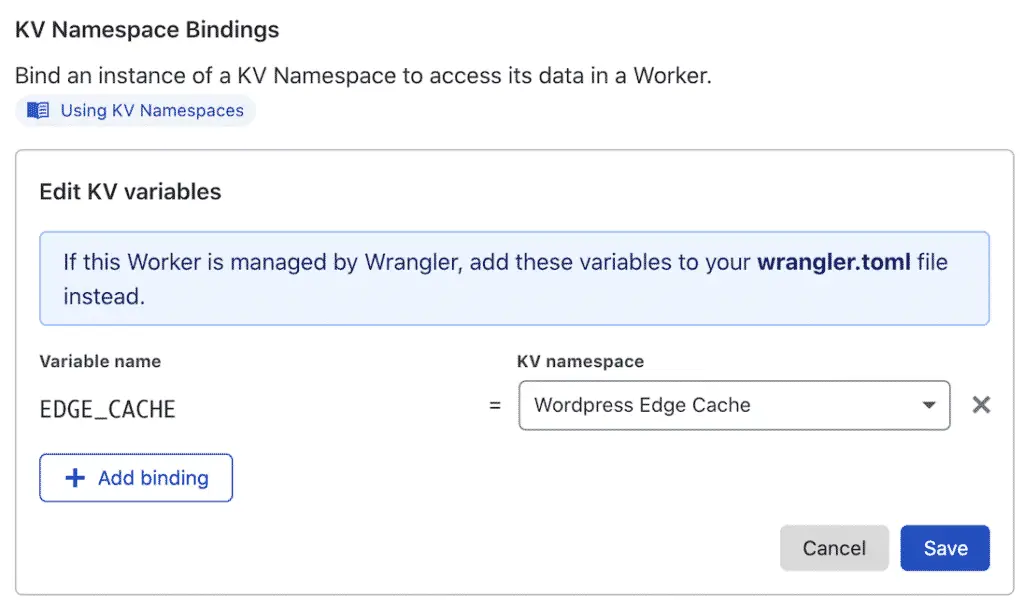
Below “KV Namespace Bindings”, click on Add binding.
Set up the variable name to be EDGE_CACHE, and map it to the KV Namespace created earlier.
Double Check Yourself
To make sure that your setup works, you can test your site using Google Lighthouse.
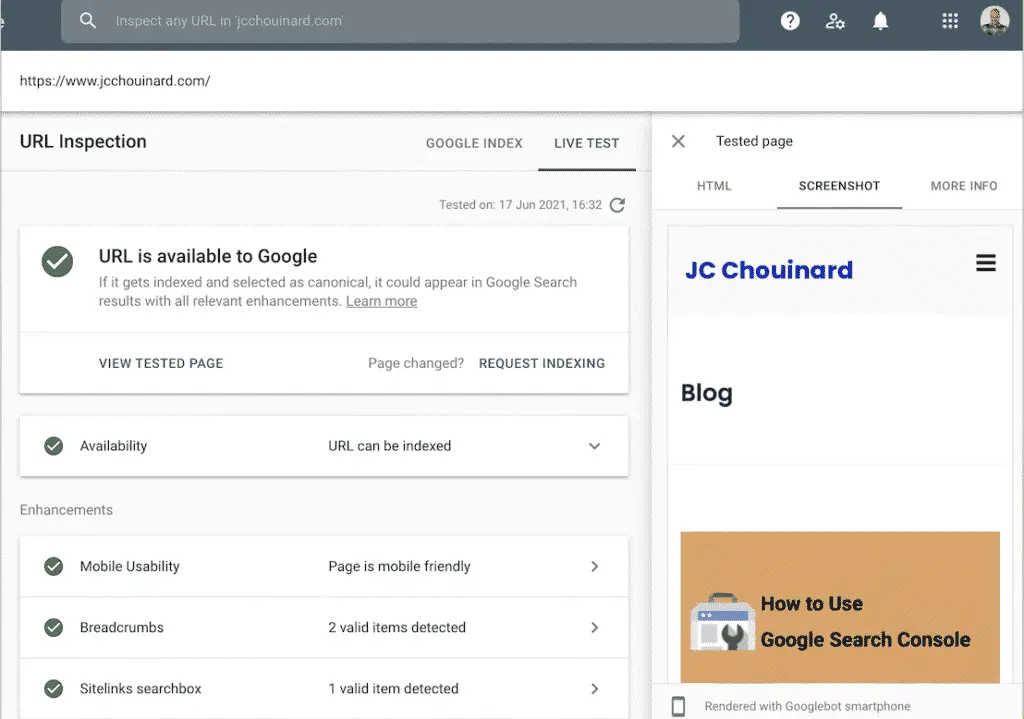
But, also make sure to test the live URL in Google Search Console to see if your main pages behave properly.
Go to Google Search Console > Use the URL Inspection Tool > Test Live URL > Screenshot
All done.
Other Considerations
This method isn’t perfect. It caches the content before the request reaches your server.
If your site relies on user comments, it may not be the right solution as these comments will not update your site even when you clear the cache.
Cloudflare Workers FAQ
What Does a Cloudflare Worker Do?
Cloudflare Workers make it possible to write and execute Javascript on the Cloudflare network. Workers can intercept and modify requests, cache content, combine third-party scripts and more.
Congratulations, you have improved the performance of your WordPress site using a Cloudflare worker.

SEO Strategist at Tripadvisor, ex- Seek (Melbourne, Australia). Specialized in technical SEO. Writer in Python, Information Retrieval, SEO and machine learning. Guest author at SearchEngineJournal, SearchEngineLand and OnCrawl.