Heroku lets you deploy a Flask app online for free.
This is a fantastic option to test dev environments, to make SEO tests in Google Search Console or to make a python a public app to showcase your work without paying for hosting and for a domain name.
If you know nothing about Python, make sure that you check out my ultimate guide on Python SEO.
1. Prerequisites
Before you can start, you need to do three things:
- Install Git
- Install Python

2. Install Heroku
If you are using Mac, you can download homebrew from your Terminal.
$ /bin/bash -c "$(curl -fsSL https://raw.githubusercontent.com/Homebrew/install/master/install.sh)"
Then run this command to install Heroku.
$ brew tap heroku/brew && brew install heroku
To install Heroku on Windows, download the Heroku installer for Windows.
3. Getting Started With Heroku
Start with an empty project in your preferred text editor. In this tutorial, I am using VSCode.
Create a New Working Directory
$ mkdir <your-app-name>
$ cd <your-app-name>
Create Virtual Environment
It is recommended to create a virtual environment so that there is no conflict with Heroku during the deploy.
If you have installed Python with Anaconda, you can create your empty environment this way.
$ conda create --name simple-heroku python=3.6
Activate the environment.
$ conda activate simple-heroku
or you can use venv.
$ virtualenv venv
$ . venv/bin/activate
Install Requests, Flask and Gunicorn
To run the app, we need to install the Flask Python Framework with which we will build our app, Gunicorn to be our Python WSGI HTTP Server and requests to handle the HTTP requests.
$ pip install requests[security] flask gunicorn
4. Create The Flask App
Now, let’s create our Flask App.
Create App Folder
$ mkdir app
$ cd app
Write Your Flask app
Inside the app folder, create a main.py script.
$ touch main.py
To open with vscode.
$ code main.py
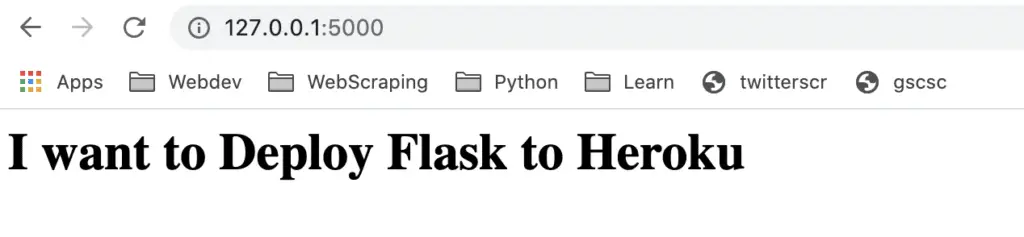
Add the basic building blocks of the app. This app will simply print a H1.
from flask import Flask

app = Flask(__name__)

@app.route('/')
def index():
  return '<h1>I want to Deploy Flask to Heroku</h1>'
Create Script to Run the App
Move to the parent directory.
$ cd ../
Create a file named run.py.
from app.main import app

if __name__ == "__main__":
  app.run()
Run Flask App
To verify if the app works, try running the app first.
$ python run.py
In your browser, go to the IP given and see if the app works.

Exit using CTRL + C.
5. Make Required Files to Deploy to Heroku
Create Requirements.txt
Now, let’s freeze the environment and add it to the requirements.txt so that the required packages are installed when deploying the app.
$ pip freeze > requirements.txt
Create Procfile
We need to create a Procfile that contains the commands that Heroku will need to run.
web: gunicorn <app_name>:app
To create the Procfile to run the run.py app:
$ echo web: gunicorn run:app >> Procfile
6. Deploy Your App to Heroku
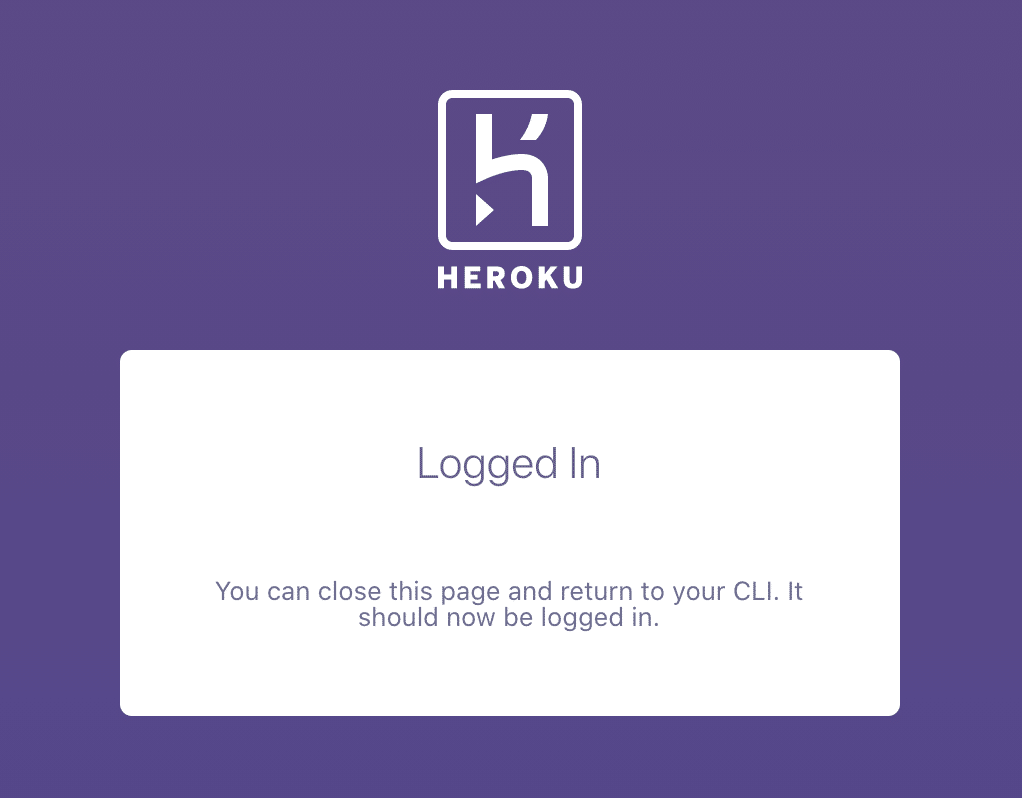
Login Heroku
$ heroku login
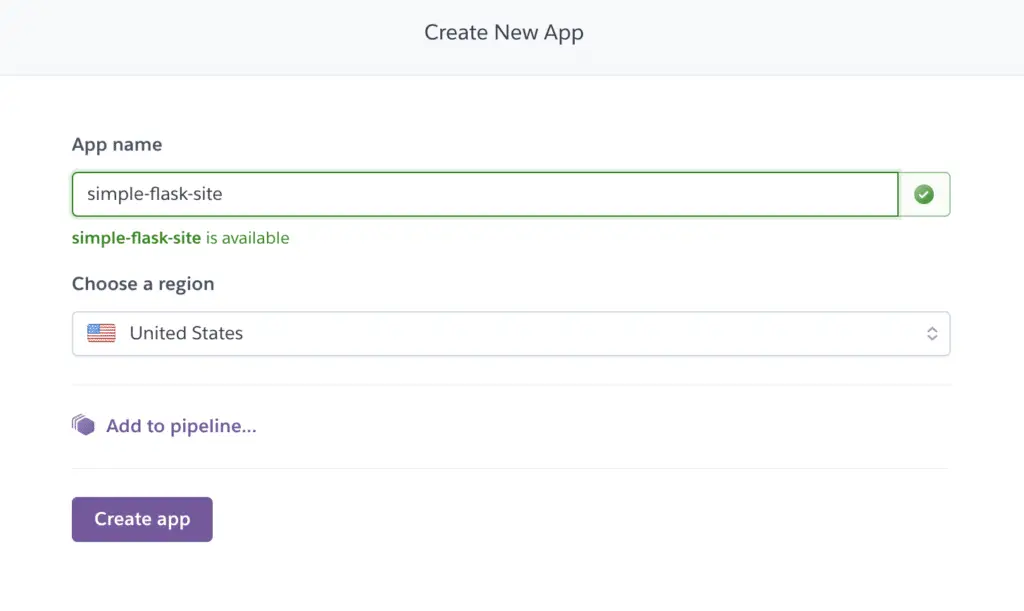
Create Heroku App
$ heroku create <app-name>
or Go to Heroku Dashboard
Add Heroku App to Remote
$ git init
$ heroku git:remote -a <heroku-app-name>
$ git remote -v
Deploy the Flask App to Heroku
$ git add .
$ git commit -m "Init deploy"
$ git push heroku master
All done, the Flask app should be live.
6. Kill The App
If you want to deactivate, or destroy your Heroku app. Here are the commands.
Deactivate app
$ heroku ps:scale web=0
Reactivate App
heroku ps:scale web=1
Delete App
$ heroku apps:destroy <heroku-app-name>
Conclusion
Bravo my Python friends, you now know how to deploy a Flask app on Heroku for free.

SEO Strategist at Tripadvisor, ex- Seek (Melbourne, Australia). Specialized in technical SEO. Writer in Python, Information Retrieval, SEO and machine learning. Guest author at SearchEngineJournal, SearchEngineLand and OnCrawl.